







About Author: Jim Jiang
Founder of Seming, Chief Product Designer with 20 years of experience.
Specializing in customization, innovation and lighting solutions for photography lighting, beauty lighting and beauty tools, and more.
Detail
Halloween is the perfect time to animate with creativity. And capturing the full details of costumes and makeup requires more than just a good camera. Ring lights can transform ordinary photos. Make it a professional image. Focus on details and create the ideal spooky effect for Halloween. In this article, we’ll explore the top 5 ring lighting setups for Halloween photography. So you can capture each outfit in perfect detail. and bring a unique and scary atmosphere to your pictures.
Introduction
Halloween is a time when people put their creativity on full display with elaborate costumes and makeup. This makes for an exciting season for photography. Whether you take pictures of friends At the Halloween party Set up a scary photo shoot Or take a photo of your outfit. Lighting can make a huge difference in capturing professional quality photos. A ring light is a multi-purpose tool that provides consistent light. This eliminates harsh shadows, and adds detail, which is essential for Halloween photography. This guide covers five different ring light setups that can bring out the spooky, mysterious, and intricate side of any Halloween costume.
1. The Classic Ring Light Setup for Full Costume Details
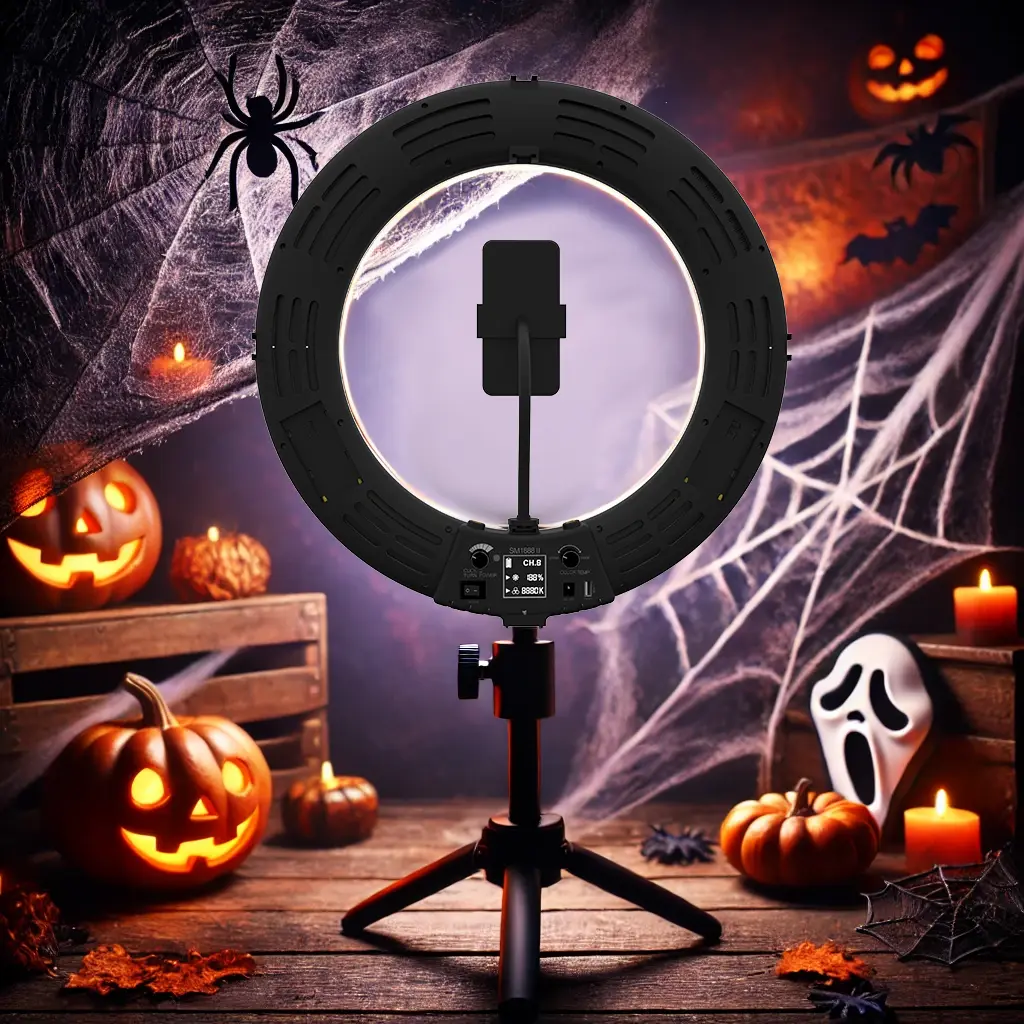
The classic ring light setup is a front-facing light. where the ring light is placed directly in front of the subject to provide even and balanced light across their face and outfit. This setting emphasizes the intricate details of the costumes and makeup, helping every aspect to be captured clearly and accurately.
How to Set Up the Classic Ring Light
- Place the ring light directly in front of the subject at eye level.
- Adjust brightness to avoid overexposure to ensure that dress and facial details are well highlighted.
- Camera positioning should be centered around the ring light if possible. This eliminates shadows and provides a direct view of the subject.
Best For
This setting is ideal for intricate costumes that require precise lighting to showcase textures, colors, and features. Suitable for characters with complex makeup such as vampires, witches, or fantasy creatures. The details of the face and clothing make a huge impact.
Pro Tips
- Try using a low ISO setting on your camera to reduce grain and noise. Because the ring light provides enough light
- Maintain the brightness of the ring light medium to avoid washing out delicate details or causing unwanted reflections.
2. Split Lighting for a Mysterious, Half-Shadow Look
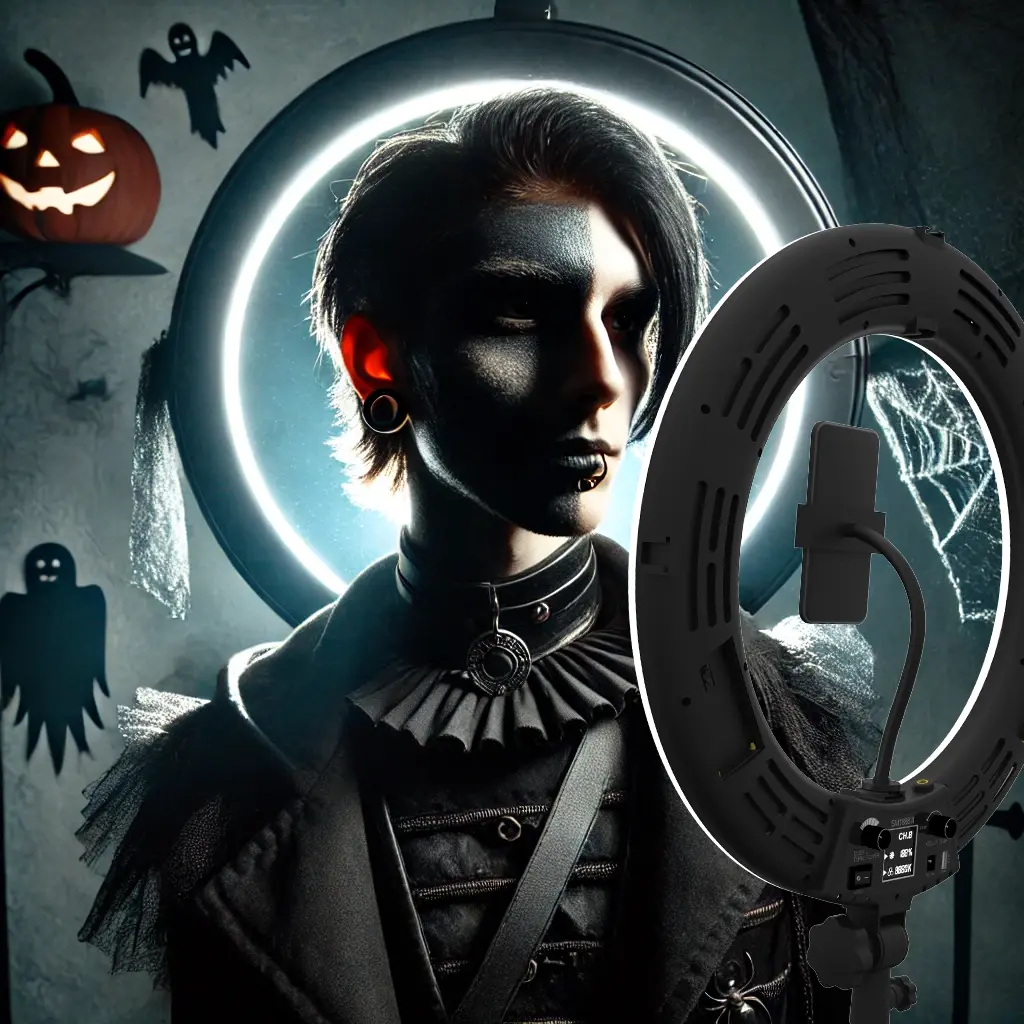
Split lighting is a technique where a light source is placed on one side of the subject. To create a dramatic effect where one side of the face is well lit and the other side is in shadow. This setting is suitable for a moody and mysterious mood. and add depth to the image.
How to Achieve Split Lighting with a Ring Light
- Place the ring light on one side of the face of the design at 45 degrees angle.
- Adjust the light so that one side is fully lit. leaving the other side in the shadows
- Turn the brightness down a bit for a softer, more shadowy effect that adds to the eerie feel.
Best For
Split lighting works well for characters such as villains, monsters, or dark fantasy characters where a sense of mystery is key. This setting adds drama and emphasizes distinctive facial features or clothing textures. This makes it perfect for dark-themed Halloween photography.
Pro Tips
- Experiment with different shadow intensities by adjusting the distance of the light from the object.
- Use a reflector on the shaded side to soften the shadows if necessary. Reduce contrast and increase fine details.
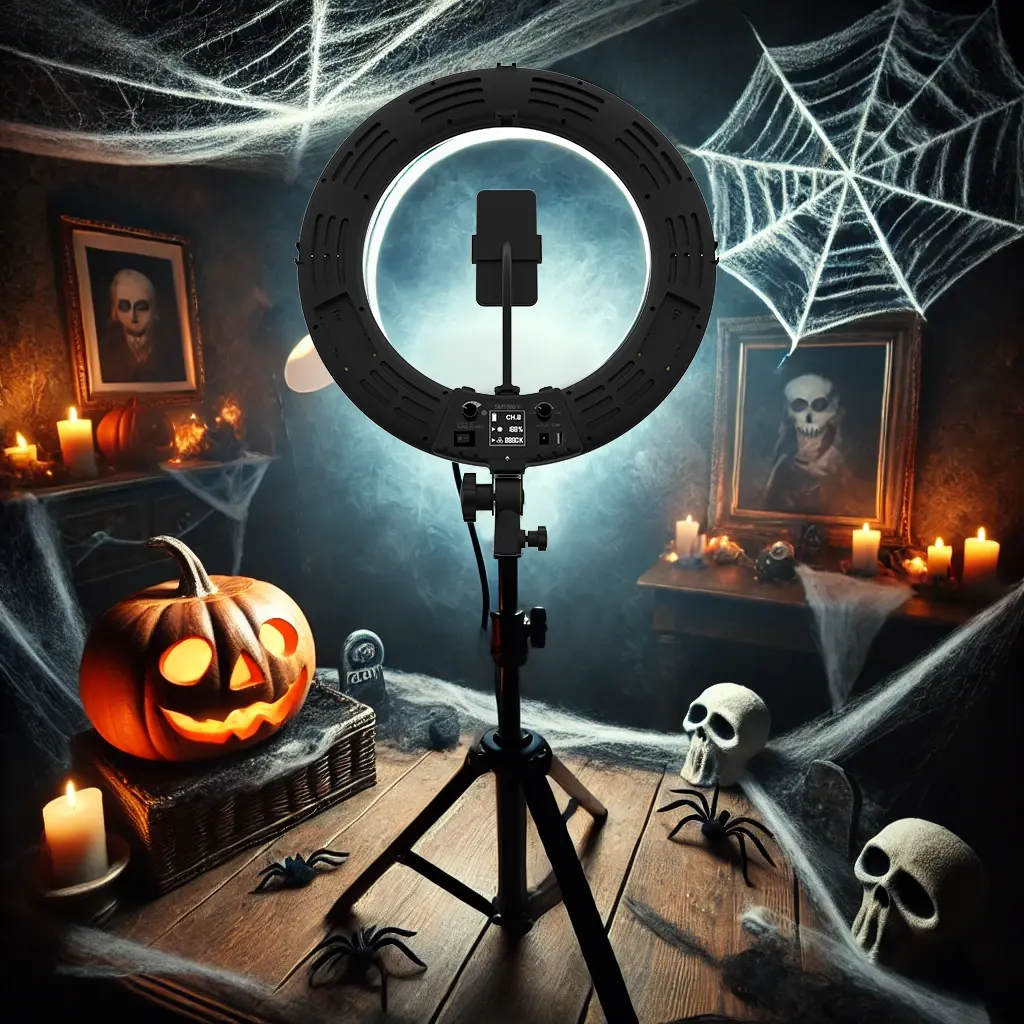
3. High Angle Setup for a Ghostly Glow
Want a scary effect? Try placing a ring light at an angle above your subject. This creates a long cast of light below that illuminates the head, shoulders and top of the costume and casts a slight shadow below. Add a scary glow to your subject.
How to Set Up a High Angle Light
- Install the ring light slightly above eye level. By angled down towards the object
- Adjust the height to control the amount of shadow cast on the face and lower body.
Use a low brightness setting to avoid harsh contrast. and maintains a soft, ghostly glow
Best For
This setting is ideal for characters such as ghosts, zombies, or ghosts, with a soft downward light that adds to the eeriness. It also goes well with light colored or white clothing. It looks lively because the light flows from top to bottom.
Pro Tips
- Add a white or light blue gel filter. to the ring light to provide a cooler spectrum of light to create a classic ghosting effect.
- Dim or darken the background to make the glowing effect stand out more.
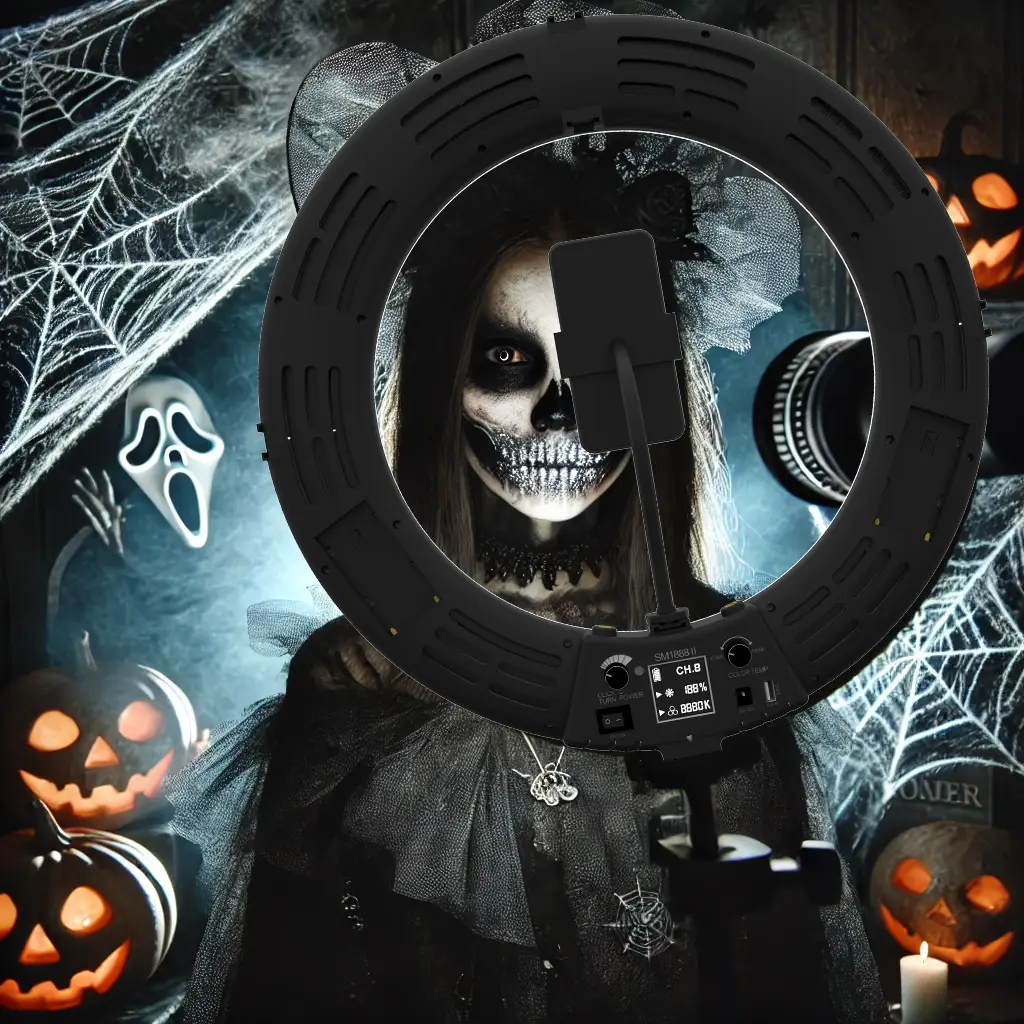
4. Double Ring Light for Enhanced Depth and Texture
If you want to create a more dynamic image by adding depth. Consider using two ring lights at different angles. This setup accentuates the texture of the clothing, enhances facial features, and highlights the overall complexity of the figure.
Setting Up a Double Ring Light
- Place one ring light in front of the object. and another on one side or behind the object at an angle of 45 degrees.
- The headlights can be adjusted to medium brightness. Angled lights are softer to add dimension.
- Use exposure levels for each light to achieve a balanced, detail-focused look.
Best For
Twin Ring Lights are best suited for costumes with intricate details and textures, such as steampunk and fantasy armor. Or horror characters with complex makeup. This setup helps to emphasize the layers and textures of the costume. This creates an immersive effect.
Pro Tips
- Make sure both lights have the same color temperature for uniformity.
- For a more dramatic effect? Add colored gels to one of your ring lights to create a unique light contrast that matches the spooky atmosphere of Halloween.
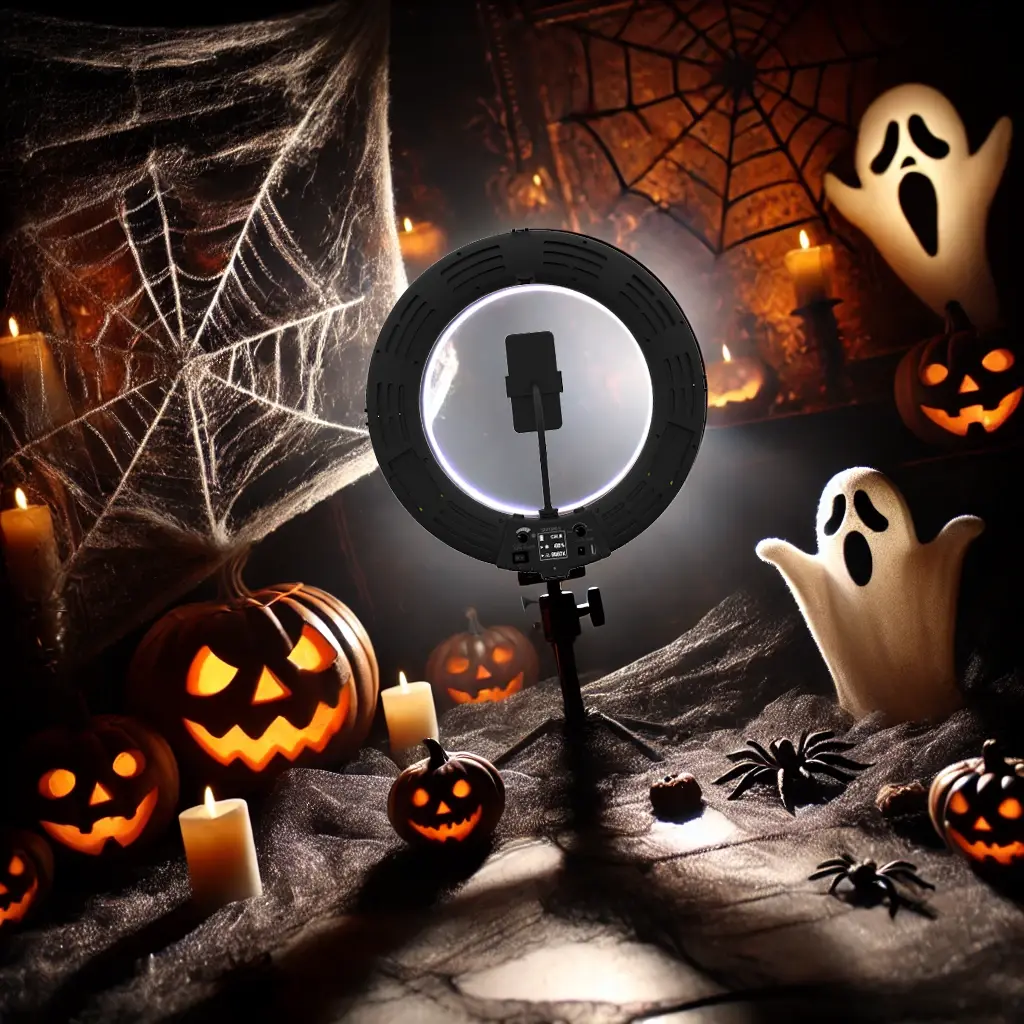
5. Ring Light with Flickering Effect for Horror Ambiance
For unique horror themed photography try adding a twinkle effect to ring lights to replicate the feel of a haunted house or horror movie scene. Some ring lights come with a flicker mode. Or you can manually adjust the brightness to achieve this effect.
How to Set Up a Flickering Ring Light Effect
- If your ring light has a built-in blink setting. Turn it on in low light.
- Or another way Adjust the brightness of the light manually periodically. to create a flickering effect
- Consider using a red or orange gel filter on your ring light to give it an extra sparkle to enhance the twinkling effect.
Best For
This setting is suitable for horror characters such as monsters, ghost dolls, or scary clowns. Where the flickering lights add an element of fright. and a sense of unpredictability to highlight shadows and doubts. It also works well in low-light environments..
Pro Tips
- Try pairing the flickering ring light with a dark and cluttered background to add a spooky touch.
- Use flashing lights sparingly to avoid overexposing your subject; A slight flicker creates a wonderful atmosphere.
Conclusion
Halloween photography is a great opportunity to play with different lighting techniques. To bring an outfit to life, Ring Light is a powerful, versatile tool that can dramatically change the mood of a photo. It depends on how you set it up. From the classic façade setting that emphasizes details to the spooky flickering effects that create an eerie atmosphere. These top 5 ring light settings will help you see every detail of your Halloween costume in the best possible light… Take time | Using these ring light settings for Halloween photographers can elevate your images. It brings out the intricate costumes and makeup that make the holiday so special. Whether you’re aiming for a spooky, mysterious, spooky, or atmospheric atmosphere, your ring lights will make your Halloween photos that much more special. From the ordinary…as long as it is the key to change
Jim Jiang

Founder of Seming, Chief Product Designer with 20 years of experience. Specializing in customization, innovation and lighting solutions for photography lighting, beauty lighting and beauty tools, and more.