









First and foremost, purchasing premium salon equipment is only half the battle. Ultimately, the way you physically position your tools in your workspace dictates your operational success.
Indeed, every week, my engineering team speaks with talented lash artists who invest in high-end half-moon lights and commercial UV lash lamps, only to experience intense daily frustration. Specifically, they suffer from chronic neck pain, premature adhesive curing, or annoying optical shadows.
Unfortunately, they almost always blame the equipment. However, in 99% of these cases, the hardware is perfectly fine. Rather, the problem lies entirely in their spatial setup and optical alignment.
Therefore, as an optical engineer, I want to share the exact spatial geometry required to maximize your efficiency. Consequently, in this comprehensive technical guide, we will break down the exact distances, angles, and ergonomic rules for positioning your dual-light lash station like a true professional.

1. The Physics of the Dual-Light System
To begin with, you must fundamentally understand that a half-moon light and a UV lash lamp perform two entirely different physical functions. Consequently, they must be positioned to complement each other, not compete with each other.
1.1 The Separation of Duties
Fundamentally, the half-moon light is your “Vision Engine.” Its sole purpose is to flood the horizontal canvas with CRI 95+ shadowless illumination. Conversely, the UV lash lamp is your “Chemical Trigger.” Its only job is to deliver a hyper-focused 395nm beam to polymerize the adhesive in exactly 0.5 seconds.
Therefore, mixing these two light paths improperly causes visual chaos. For instance, if your UV beam reflects off your shiny metal tweezers into the half-moon arc, it creates a highly distracting glare that will fatigue your optic nerve.
1.2 Avoiding Light Interference and Premature Curing
Furthermore, the most critical rule of the dual-light system is avoiding optical cross-contamination. Specifically, you must never allow the UV light beam to shine anywhere near your fresh adhesive drop on your jade stone or glue ring.
If you set up your UV lamp on the wrong side of the bed, the scattered UV energy will instantly cure your entire fresh glue drop. Consequently, you will waste expensive adhesive and completely ruin your application rhythm. Thus, strategic, calculated placement is an absolute necessity.
2. Mastering the Half-Moon Light Placement
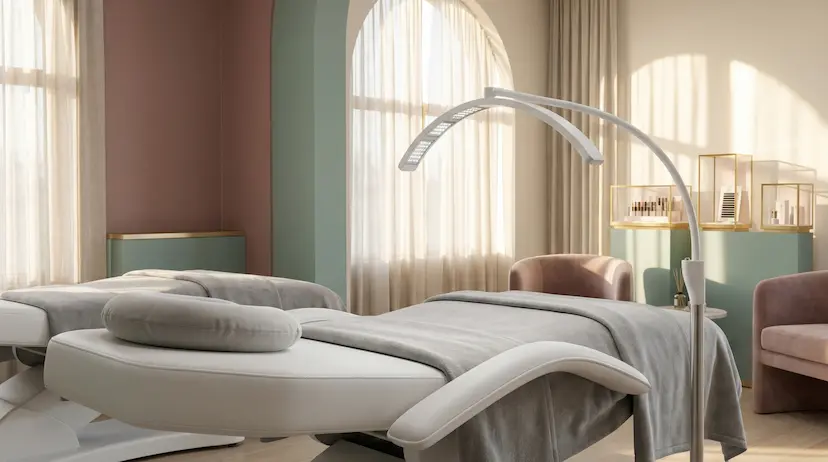
Now, let us optimize the foundation of your visibility: the half-moon light. Because it features a massive, 180-degree physical arc, its placement determines your overall postural health and spinal alignment.
2.1 The Ideal Height and Distance
Typically, beginners place the half-moon light far too low. When the light is pulled too close to the client’s face, it severely restricts your hand movements and blocks your direct line of sight.
Instead, the highest point of the half-moon arc should be positioned exactly 30 to 40 centimeters (12 to 16 inches) above the client’s forehead. Furthermore, the light must be centered directly over the client’s eyes, not their chest or neck. Consequently, this specific height allows the multi-directional light rays to intersect perfectly at the lash line, effectively neutralizing any shadows cast by your hands.
2.2 The “Forward Tilt” Technique
Moreover, maintaining a perfectly vertical half-moon light is often a subtle ergonomic mistake. If the light is pointing straight down, it can cast harsh micro-
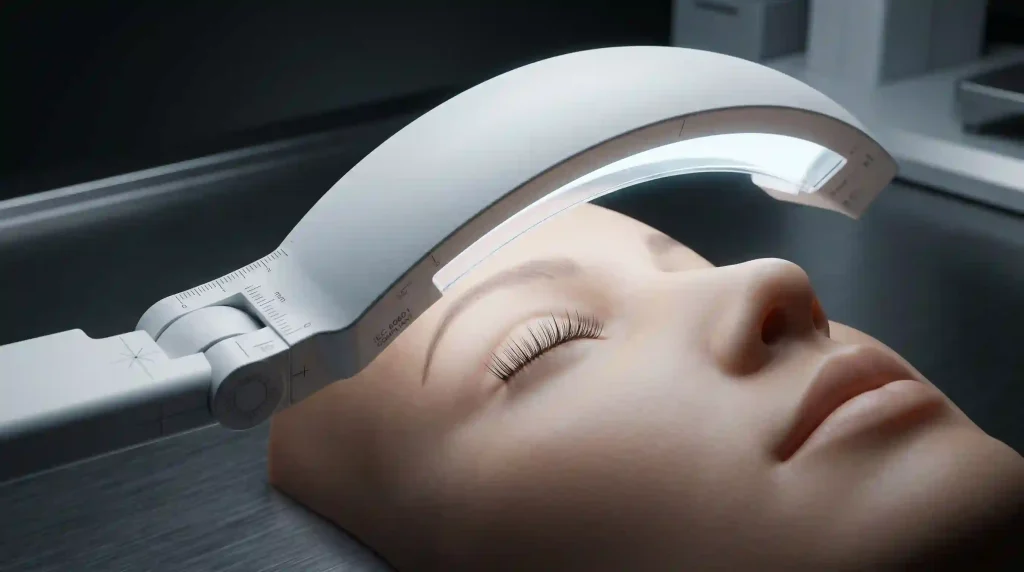
To solve this, you must apply the “Forward Tilt Technique.” Specifically, gently tilt the entire arc about 15 to 20 degrees toward yourself (the artist). As a result, the light sneaks under the client’s brow bone, brilliantly illuminating the vital roots of the natural lashes where the adhesive bond must be flawlessly placed.
3. Precision Targeting with the UV Lash Lamp
Once your broad illumination is perfect, we must deploy the precision tool. The UV lash lamp operates much like a surgical laser; therefore, its placement requires strict geometric discipline.
3.1 The 10-15cm Golden Rule
First and foremost, the distance from the UV lamp lens to the client’s eye is the single most critical metric in UV lashing. If the lamp is too far away, the 395nm irradiance drops exponentially, resulting in a weak cure and poor retention. Conversely, if it is too close, it dangerously restricts your tweezer movement.
Therefore, you must maintain a strict, uncompromising working distance of 10 to 15 centimeters (4 to 6 inches). At this precise distance, a commercial Seminglight UV system focuses its energy into a perfect, highly concentrated 2mm curing spot.
3.2 Strategic Base Placement (Left vs. Right)
Additionally, where you place the heavy floor base of the UV lamp depends entirely on your dominant hand and where you keep your adhesive drop.
For example, if you are right-handed and keep your glue ring on your left hand, you must position the UV lamp stand on the right side of the bed. Consequently, the UV beam aims diagonally across the bed, pointing completely away from your glue ring. Indeed, this simple “cross-body” placement is the ultimate industry secret to preventing premature adhesive polymerization on your tools.
3.3 Pedal Ergonomics
Finally, do not neglect the foot pedal. Often, artists lazily throw the pedal under the bed and awkwardly stretch their leg to reach it hundreds of times a day. This ruins pelvic alignment.
Instead, the pedal must be positioned directly under the ball of your resting foot. Ultimately, your ankle should remain in a relaxed, neutral position throughout the entire appointment. Because the Seminglight pedal features industrial-grade micro-switches, a mere millimeter of effortless pressure is all that is required to trigger the 0.5-second cure.
4. The “Cross-Fire” Technique: Marrying Both Lights
Now that both units are independently optimized, we must integrate them into a seamless optical ecosystem. In our engineering lab, we call this the “Cross-Fire Technique.”
4.1 Creating the Optical Tunnel
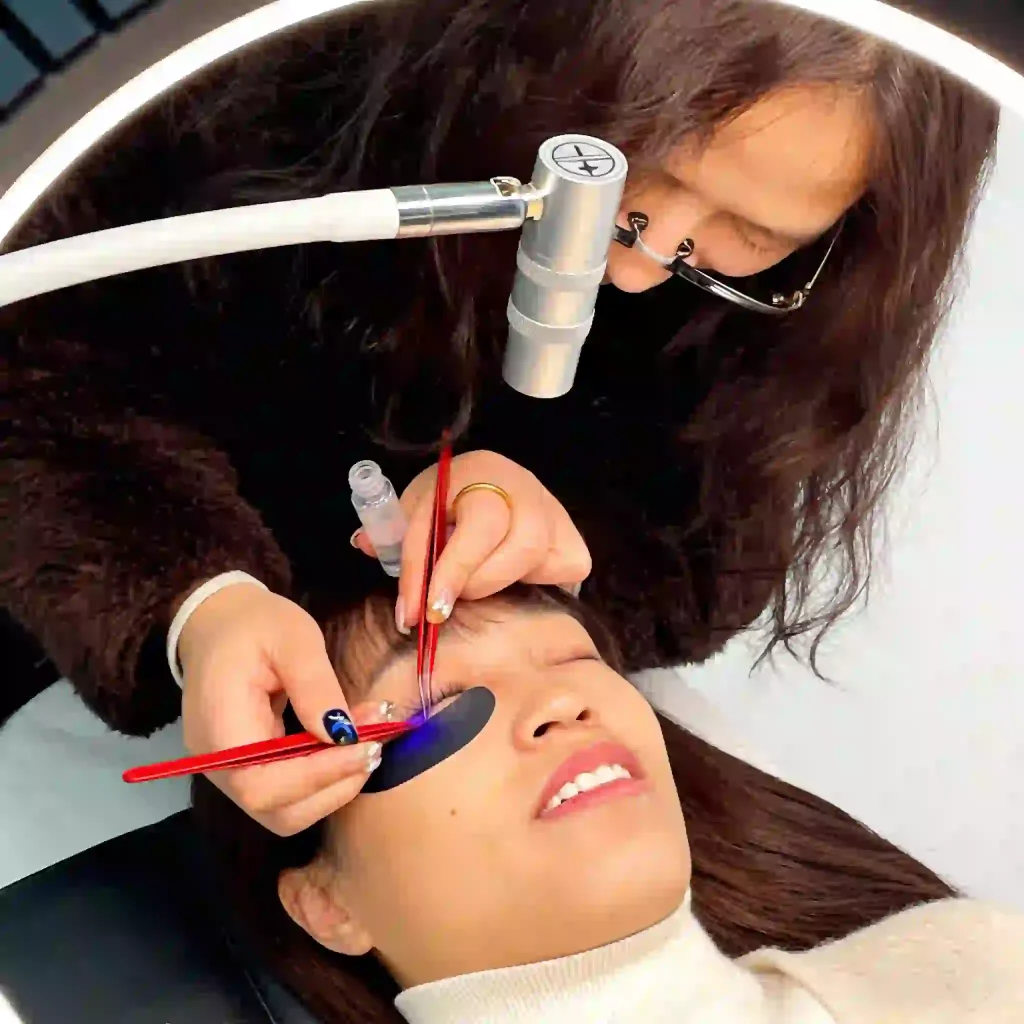
Specifically, the large half-moon light forms a protective, shadowless canopy over the client. Meanwhile, the slender, flexible gooseneck of the UV lamp should snake in from the side, hovering just underneath the main arc of the half-moon light.
As a result, you create a brilliant “Optical Tunnel.” The half-moon provides the ambient clarity from above, while the UV lamp waits silently in the lower airspace, ready to deliver its micro-dose of curing energy without ever blocking your view of the canvas.
4.2 Managing Color Temperature Overlap
Because the UV lamp emits a distinct, visible violet glow (395nm), working under a highly intense, cool-white half-moon light (6000K) can wash out your ability to see exactly where the UV beam is hitting. Therefore, we highly recommend setting your half-moon light to a slightly warmer, neutral tone (4000K – 4500K). Consequently, this creates perfect visual contrast, allowing you to clearly see the purple UV targeting dot landing precisely on the adhesive bond.
5. Troubleshooting Common Setup Mistakes
Even with the best intentions, spatial errors can occur during a busy salon day. Let us review the two most common setup mistakes and how to instantly engineer your way out of them.
5.1 The “Bumping” Hazard
Undoubtedly, the most frustrating scenario for an artist is accidentally bumping the UV lamp head with your tweezers right as you place a delicate volume fan.
Typically, this happens because the UV gooseneck is approaching the eye from a steep, vertical angle. To fix this, simply bend the flexible gooseneck into a sharp “L” shape. Therefore, the lamp head approaches the client horizontally from the side, keeping the vertical airspace directly above the client’s eye completely clear for your hands.
5.2 The Wandering Focal Point
Occasionally, artists complain that the UV light seems to drift away from the eye slowly during a long, two-hour session.
Indeed, this is the hallmark of a cheap, public-mold UV lamp. Cheap lamps use weak plastic tubing that slowly sags under the weight of the metal lens. Conversely, Seminglight commercial units utilize heavy-duty, mechanical dampening arms. Thus, once you position our UV lamp at the perfect 15cm distance, it will fundamentally remain locked in that exact spatial coordinate indefinitely.
Conclusion: Engineering Your Workspace for Success
In conclusion, a professional lash station is not merely a collection of expensive tools. Rather, it is a highly calibrated optical environment.
By applying these precise geometric rules—tilting the half-moon light, separating the UV beam from your adhesive, and utilizing the Cross-Fire technique—you instantly eliminate physical strain and operational errors. Consequently, you allow the technology to work for you, rather than fighting against it.
Ultimately, mastering this dual-light setup is the final step in establishing a true luxury salon experience.
Stop guessing with your equipment setup. Instead, engineer your environment like a true professional.
Related Lighting Guides
Jim Jiang

Founder of Seming, Chief Product Designer with 20 years of experience. Specializing in customization, innovation and lighting solutions for photography lighting, beauty lighting and beauty tools, and more.