








Cuando la iluminación fija no es suficiente: por qué tus escenas necesitan una iluminación adaptativa
¿Alguna vez te has sentido así? Te pasas un montón de tiempo creando una escena: modelos perfectos, texturas realistas, una composición preciosa. Luego añades la iluminación y, de repente, todo parece plano y aburrido. A todos nos ha pasado alguna vez.
El verdadero problema no eres tú
Sinceramente, probablemente no se deba a tus habilidades. El verdadero problema radica en los flujos de trabajo de iluminación rígidos y anticuados. Son demasiado estáticos. No se adaptan a medida que tu idea creativa va evolucionando. Ahí es precisamente donde la iluminación adaptativa puede ayudar. Los mejores estudios dejaron atrás las configuraciones fijas hace mucho tiempo. Ahora es el momento de que todos empecemos a utilizar este enfoque de iluminación más flexible y adaptativo. No pienses en este tipo de iluminación como un truco sofisticado, sino como una forma más inteligente de trabajar con la luz.
De la linterna a la bombilla inteligente: una comparación sencilla
Déjame explicarlo de otra manera. Compara una linterna normal con una bombilla inteligente. La linterna solo tiene una función: encenderse. ¿Y la bombilla inteligente? Puede regular la intensidad, cambiar de color e incluso encenderse cuando entras en la habitación.
Una iluminación verdaderamente adaptativa aporta este tipo de enfoque inteligente y flexible a tu obra. Tus luces dejan de ser meros objetos y empiezan a responder a tu escena. Pueden cambiar según la hora del día, reaccionar a las diferentes condiciones meteorológicas o adaptarse al ambiente de tu historia. De repente, con un sistema de iluminación adaptativa, tus luces ya no están ahí solo para iluminar. Se convierten en una parte activa y receptiva de la forma en que cuentas tu historia. Ese es el verdadero objetivo de crear un flujo de trabajo de iluminación profesional.
Empieza por organizarte: Tu Iluminación Caja de herramientas
Lo primero es lo primero: tienes que organizarte. Cualquier buen sistema adaptativo, sobre todo una instalación de iluminación sólida y reactiva, necesita una estructura clara. Yo lo veo como ordenar una caja de herramientas para esta iluminación: clasificas tus herramientas para que puedan funcionar juntas sin problemas.
Agrupar las luces según su función
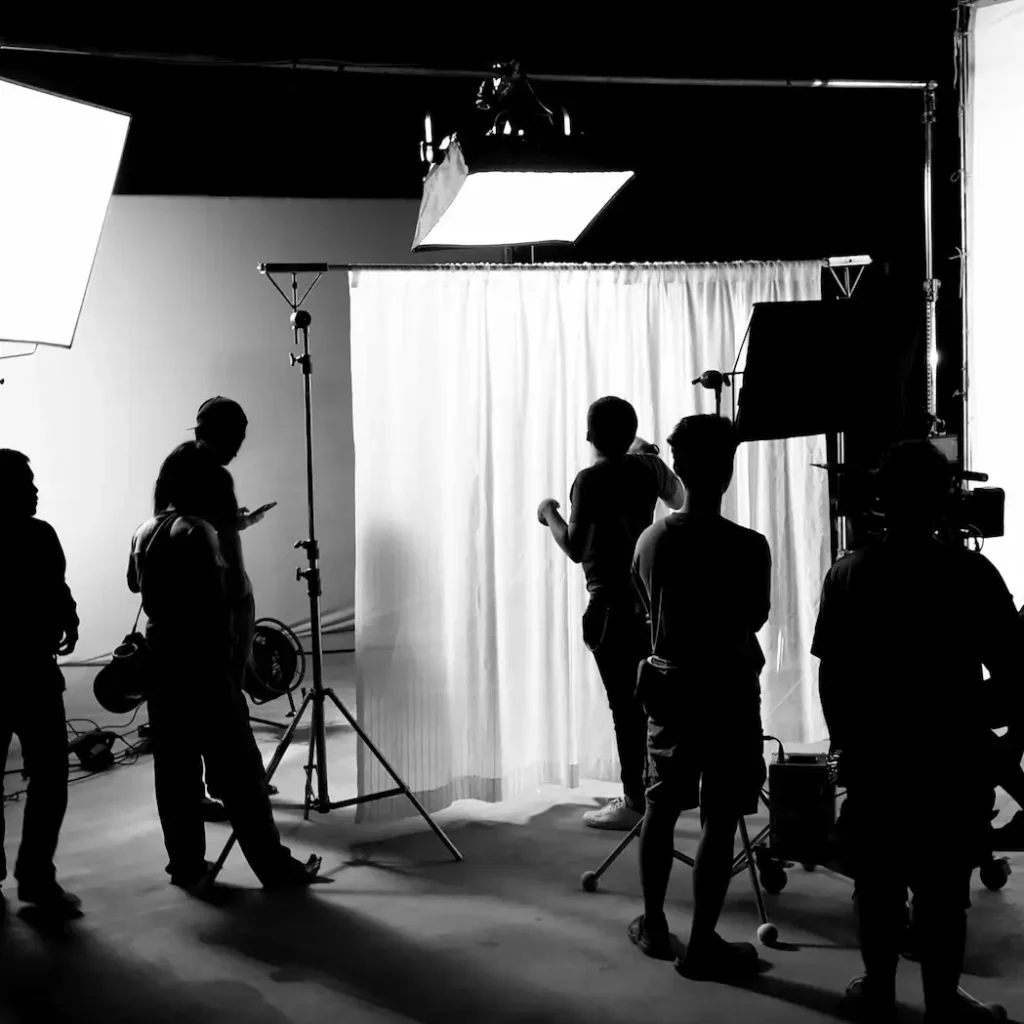
Por ejemplo, agrupa tus luces según su función. Reúne todas tus luces “principales” en un grupo, tus luces “de relleno” más suaves en otro, y cualquier luz “de efecto” especial por separado. Este sencillo paso es la primera regla de un flujo de trabajo de iluminación adaptativa eficiente. Te ahorrará muchísimo tiempo más adelante, cuando necesites que toda tu configuración responda rápidamente. ¿Quieres cambiar la atmósfera general? Solo tienes que ajustar tus luces de relleno agrupadas. Contar con esta base organizada es lo que hace que incluso una iluminación compleja y adaptativa sea fácil de controlar y responda realmente a tu visión.
Deja de adivinar: aprende con fotos reales
Aquí tienes un consejo que puede cambiar tus proyectos de iluminación adaptativa: deja de imaginar cómo debería ser la luz. Empieza a utilizar fotografías reales como guía. Cuando empiezo cualquier proyecto centrado en la iluminación adaptativa, recopilo muchas imágenes de referencia: tardes soleadas, cielos nublados, habitaciones acogedoras.
Por qué son importantes las referencias
Esta práctica es muy importante para este tipo de iluminación. ¿Por qué? Porque te enseña cómo se comporta y cambia realmente la luz en la vida real. Comprender estos cambios naturales es lo que hará que tu iluminación profesional resulte auténtica y creíble, y no solo que sea técnicamente capaz de adaptarse a las circunstancias. Tu objetivo es crear una iluminación que parezca real.
Protege tu trabajo: el enfoque no destructivo
Imagina esto: ya casi has terminado y, de repente, tienes que hacer “un pequeño cambio”. Con los métodos antiguos, eso podría significar tener que empezar de cero. Pero con un flujo de trabajo de iluminación adaptable diseñado para ofrecer flexibilidad, no supone ningún problema.
Capas, ajustes predefinidos y vinculación de luces
¿Cómo? Utiliza capas y guarda ajustes predefinidos entre los que puedas alternar. Y lo más importante: utiliza una herramienta llamada “enlace de luces”. Esto te permite controlar exactamente qué ilumina cada luz. ¿Esa lámpara del escritorio? Configúrala para que solo ilumine el escritorio, no toda la habitación. Trucos como estos son la base de un sistema de iluminación flexible y adaptativo. Te permiten experimentar sin miedo, porque el propio sistema está diseñado para responder a tus cambios. Esto es fundamental para una buena configuración de iluminación adaptativa.
Da vida a tus escenas: empieza por el día y la noche
Y ahora viene lo realmente divertido: crear tu La iluminación adaptativa da vida al espacio. Empieza por algo sencillo: crea un ciclo de día a noche controlado mediante un único control deslizante.
Un control deslizante, infinitas posibilidades
A medida que mueves el control deslizante, el sol se desplaza por tu cielo virtual. El color de la luz cambia desde el cálido resplandor del amanecer hasta el blanco frío del mediodía, para volver luego al cálido tono del atardecer. Las luces interiores pueden incluso encenderse solas al anochecer. Este sencillo sistema es un magnífico primer proyecto para la iluminación adaptativa. Hace que tu escena resulte más realista y dinámica. La magia de esta iluminación reside en crear estas conexiones directas que tú controlas. Con la práctica, todo tu entorno de iluminación profesional cobrará vida.

Añade otra capa: efectos meteorológicos
Una vez que el ciclo de día y noche funcione, puedes añadir el tiempo. Ahora el control deslizante del día tiene un compañero: un control del tiempo.
De soleado a tormentoso
Deslízalo hacia “tormentoso” y observa cómo reacciona tu sistema de iluminación. La luz del sol se atenúa, las sombras se suavizan y toda la escena adquiere un aspecto más frío y dramático. Lo mejor es cómo estos sistemas de iluminación adaptativa funcionan en conjunto. En tu configuración de iluminación, una puesta de sol en un día despejado tendrá un aspecto totalmente diferente al de una puesta de sol durante una tormenta. Tu iluminación se adapta de forma natural porque la has diseñado para que sea receptiva. Este enfoque por capas es lo que hace que la iluminación receptiva avanzada sea tan potente.
Contar historias con la luz: la dimensión emocional
Aquí es donde un enfoque de iluminación adaptativa y profunda cobra todo su interés. Tus luces pueden, de hecho, ayudarte a contar tu historia.
Una iluminación que sigue el hilo de la trama
¿Se siente un personaje feliz o triste? La iluminación adaptativa puede cambiar sutilmente a su alrededor para ajustarse a su estado. ¿Se está volviendo tensa la escena? Las sombras pueden hacerse más intensas automáticamente. En un proyecto, asignamos a los personajes etiquetas emocionales como “tranquilo” o “enfadado”. El sistema de iluminación adaptativa leía estas etiquetas y se ajustaba en tiempo real. Un personaje “enfadado” recibía una luz intensa y dramática. Uno “tranquilo”, una luz suave y uniforme. Esta iluminación profesional orientada a la historia hizo que todo resultara más envolvente. Demostró cómo la iluminación adaptativa puede ser una herramienta narrativa.
Mantén la flexibilidad hasta el final: renderizado inteligente
Aquí tienes un consejo de experto para tu proceso de iluminación adaptativa: nunca fijes todo en un renderizado final. Deja siempre margen para los ajustes de última hora.
El poder de las capas de renderizado
¿Cómo? Utiliza capas de renderizado. Renderiza las diferentes luces en capas separadas: una para el sol principal, otra para la luz reflejada y otra para las lámparas pequeñas. Más adelante, si necesitas cambiar el ambiente, solo tienes que ajustar una capa. ¿Necesitas que tu protagonista destaque más? Aumenta el brillo solo de su capa de luz. Este es el paso final y crucial en un proceso no destructivo Proceso de iluminación adaptativa. Te ofrece capacidad de respuesta incluso después de pulsar «Renderizar».
Que sea rápido: el rendimiento importa
Una iluminación más compleja y dinámica no tiene por qué implicar un renderizado más lento. El secreto está en hacerlo con inteligencia.
Estrategias de optimización inteligentes
¿Las luces inciden sobre tu personaje principal? Utiliza los ajustes de máxima calidad. ¿Las luces están muy lejos, en el fondo? Simplifícalas considerablemente. Para proyectos en tiempo real, utiliza una combinación de ambos. “Hornea” la iluminación que nunca cambia (como la luz del sol que entra por una ventana). Mantén las luces “dinámicas” para los elementos que se mueven (como personajes o coches). Este equilibrio hace que tu iluminación tenga un aspecto fantástico y, al mismo tiempo, funcione con fluidez. Un sistema de iluminación adaptativo y bien optimizado es a la vez bonito y práctico.
Prueba real: un estudio de caso cinematográfico
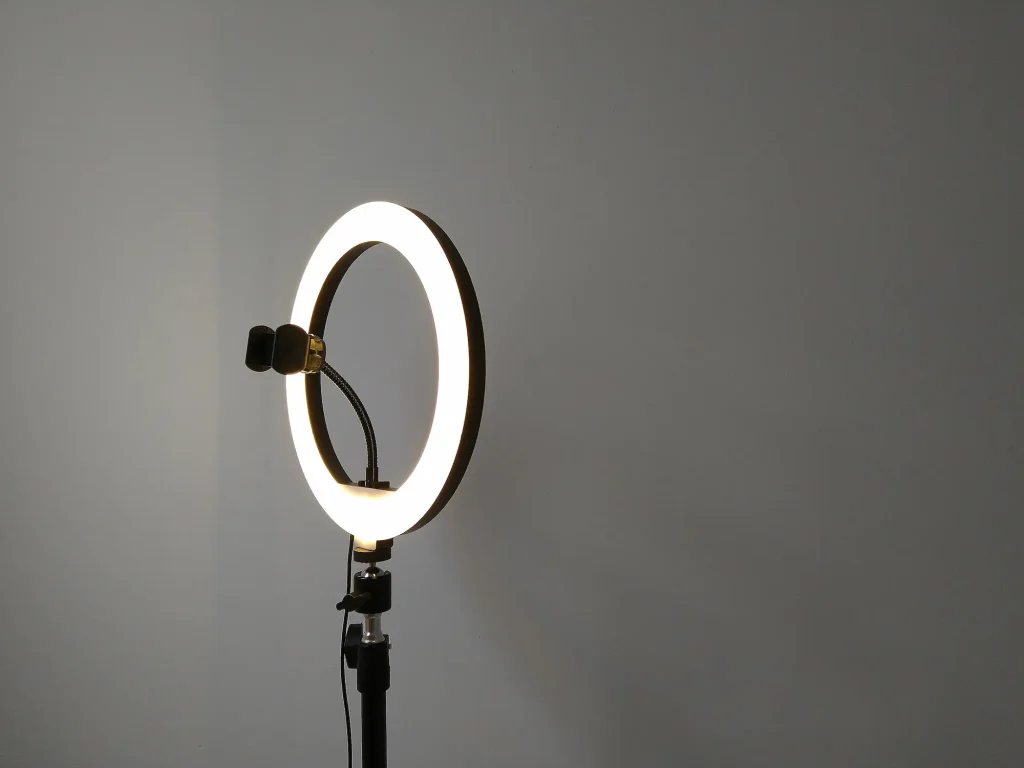
Permíteme contarte un ejemplo real. Trabajamos en el rodaje de un cortometraje ambientado en un piso durante todo un día.
Cómo la iluminación adaptativa permitió ahorrar tiempo
El director quería una iluminación que resultara totalmente realista, pero también emotiva. Era el trabajo perfecto para la iluminación adaptativa. La forma tradicional habría llevado semanas por toma. En cambio, gracias a nuestro flujo de trabajo de iluminación profesional, creamos sistemas inteligentes. Un control se encargaba de la hora del día. Otro control se encargaba del tono emocional. ¿Lo mejor de todo? Dos artistas iluminaron toda la película, de 7 minutos de duración, en solo tres semanas. Los sistemas de iluminación adaptativa se encargaron del trabajo pesado. Este caso demuestra que un enfoque de iluminación inteligente y adaptativa no solo es más creativo, sino que también es mucho más rápido.
Mirando hacia el futuro: el futuro es adaptativo
El futuro de la iluminación es, sin duda, interactivo. Las nuevas tecnologías, como el trazado de rayos en tiempo real, nos permiten utilizar una iluminación interactiva con calidad cinematográfica en videojuegos y aplicaciones.
Colaboración entre la IA y la nube
Las herramientas en la nube permiten a los equipos trabajar en la misma configuración de iluminación adaptativa desde cualquier lugar. Lo que realmente me entusiasma es la IA. Pronto, quizá puedas mostrarle unas cuantas imágenes a una IA y esta te sugiera un esquema de iluminación completo para tu escena. O podría aprender tu estilo y aplicarlo automáticamente. A medida que las herramientas se vuelvan más inteligentes, se encargarán de los aspectos técnicos. Así podremos centrarnos en el aspecto creativo de la iluminación adaptativa.
Tus primeros pasos: empieza por lo sencillo
Entonces, ¿por dónde deberías empezar con la iluminación adaptativa? Elige un proyecto pequeño y personal.
Crea tu primer sistema adaptativo
Empieza por crear un ciclo básico de día a noche. Fíjate en cómo incluso este sencillo cambio hace que tu escena se vea diferente. Este es el comienzo de tu viaje por el mundo de la iluminación. A continuación, prueba a añadir un tipo de clima, como la lluvia. Observa cómo cambia la luz. Por último, piensa en la historia. ¿Cómo cambiaría la luz si ocurriera algo importante en tu escena? Cada pequeño paso te ayuda a mejorar tus habilidades con la iluminación dinámica.
Jim Jiang

Fundador de Seming, diseñador jefe de productos con 20 años de experiencia. Especializado en personalización, innovación y soluciones de iluminación para iluminación fotográfica, iluminación de belleza y herramientas de belleza, y mucho más.