









A logo file is a starting point for custom light branding. It does not tell a supplier how large the mark should be, where it belongs on a curved housing, or which physical sample defines the approved finish.
For brands, distributors and salon chains, the practical question is: what must be recorded so the delivered lamp can be checked against the approved design? Use the process below to turn a brand concept into a clear specification for artwork, appearance and sample approval.
1. Separate the branding deliverables before requesting a quote
Break the project into items that can be reviewed individually. A request to “add our branding” leaves too many decisions open.
- Product logo: artwork, size, position, orientation and proposed marking method.
- Housing appearance: the exact parts to recolor, material references, texture and gloss or matte finish.
- Controls and markings: button icons, control labels and their relationship to the actual functions.
- Packaging artwork: brand graphics, product identification and the correct model or kit version.
- Instructions: approved text, language version and illustrations for the supplied configuration.
Keep required changes separate from optional ones. Ask the supplier to identify which requests suit the selected model, which require a different process, and which need development. Confirm costs, quantities and timing for that scope rather than assuming one logo quotation includes everything.
1.1Decide what must stay consistent across the range
A brand may sell a ring light, a half moon light and a studio panel under the same collection. Before asking for identical decoration, identify what consistency means: the same logo proportions, a coordinated body color, similar control wording, or matching retail graphics. List those priorities in order. This gives the supplier a way to discuss alternatives if the preferred marking area or surface is unavailable on one model.
Also identify what can remain standard. For example, a buyer might request a branded lamp housing and retail sleeve while retaining the existing accessory color. Another might require coordinated appearance across the lamp, stand and controller. These are different scopes and should be quoted separately. Use a component list with “change,” “retain” or “confirm” beside each item so the quotation can be checked against the same brief.
2. Give the logo a location drawing, not just a mockup
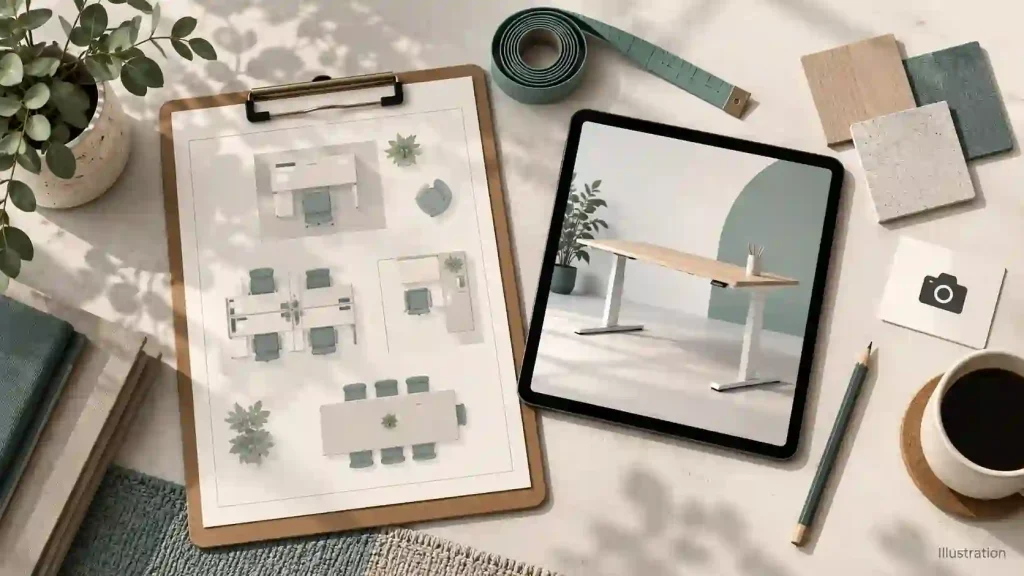
A rendering helps communicate the intended look. Add a dimensioned drawing so the supplier and buyer have a common inspection reference.
Specify logo width and height, the viewing direction, and its distance from named edges or other fixed features. If a housing is curved, ask the supplier to confirm the usable marking area and the appropriate reference points. Record acceptable placement variation with the supplier instead of leaving it to visual judgment.
Provide authorized vector artwork in the format the supplier requests. Identify the file revision, color references and any clear-space requirements. Keep a small reference image alongside the production file so the reviewer can recognize the correct version.
For silk-screen printing, laser marking or another proposed method, ask to see the result on the intended material and finish. Confirm fine-line legibility, contrast and any process limitations on a sample. Do not select a process from its name alone or assume every method is available on every lamp.
2.1Review the logo in the normal working position
Check the proposed location with the lamp assembled and positioned for its intended task.A ring light raises a placement question: should the logo face the operator, or appear in customer-facing product photography? With a half moon light, the viewing direction matters once the lamp sits over the workstation. And for a panel light, either a rear housing mark meets the branding objective, or another visible area needs assessment.
Record the decision on an annotated image of the selected model. Ask the supplier to review nearby joints, seams, controls and adjustment areas before approving the placement drawing. Treat the image as a location aid and the agreed dimensions as the inspection reference. If a logo is intentionally hidden during use, record that too, rather than allowing different reviewers to judge it against different expectations.
3. Specify color, material and finish together
“Brand white” or “matte black” is not a complete acceptance requirement. Name the component, its material, the color reference system and code, and the intended surface appearance. A housing, metal arm and printed carton should each have an appropriate reference.
Pantone’s guidance recommends considering the application material, texture or finish, and the lighting in which the finished product will be viewed when comparing colors. See its guidance on comparing physical colors. For a lamp project, use this as a reason to review physical references on the relevant surfaces, rather than treating a screen image as the acceptance standard.
Agree on viewing conditions and keep a labeled approved sample or reference set. If a numerical color or gloss limit is needed, ask the relevant technical team to define the measurement method, equipment, locations and acceptance limits. Avoid adding an arbitrary tolerance that neither party can verify.
Color approval also does not establish marking durability. If resistance to handling or a specified cleaning routine matters, define the intended exposure and ask for an appropriate, agreed test method and evidence. A photograph cannot establish that performance.
3.1Replace vague appearance words with an approval reference
Instead of writing “premium white finish,” identify the part and provide the physical reference you want evaluated. Add the intended texture and gloss appearance, then ask what sample or process trial is needed. The useful question is whether the proposed part can be compared against an agreed reference, not whether a supplier uses the same marketing adjective.
Decide how adjacent parts will be reviewed. If the lamp head, arm and base use different materials, request an assembled appearance review as well as individual component checks. Record any accepted difference explicitly. If an exact visual relationship is essential to the brand concept, raise it before quotation and sample approval so the supplier can assess feasibility rather than treating it as a late correction.

4. Keep controls, packaging and instructions on the same version
Review the product and its printed materials as one configuration. A correctly positioned logo does not resolve a box showing the wrong stand or instructions describing a different controller.
- Match control icons and wording to the supplied functions.
- Check that packaging images show the approved model and included accessories.
- Record language and document revisions for each intended version.
- Keep required product information legible and route changes to the responsible technical reviewer.
This review concerns brand and version consistency. Packaging protection, electrical performance and market-specific documentation require their own checks; visual approval should not be treated as approval of those items.
4.1Create one version list for the complete kit
A practical version list can contain the lamp model and configuration, product artwork revision, box artwork revision, instruction revision and accessory list. Give each sales version its own row. For a multilingual project, identify which text requires translation review and who can approve it. Avoid using a folder of similarly named files as the only record of which version belongs to an order.
When reviewing the first packed sample, read the box and instructions beside the assembled product. Check names, colors, accessory illustrations and the sequence of control instructions. Ask a reviewer who was not involved in the artwork preparation to follow the documents and flag ambiguities. This is a proposed buyer review step, not a substitute for technical verification or a claim about an existing factory inspection process.
5. Use a custom light branding checklist for sample approval
Use the following table as a buyer’s working checklist. Fill in the agreed requirements with your supplier before ordering the approval sample.
| Artikel | Record before sampling | Check on the sample |
|---|---|---|
| Logo artwork | Authorized file, revision, colors and clear space | Correct artwork; legible details; no unintended changes |
| Logo placement | Dimensions, orientation, reference points and agreed variation | Position and size against the approved drawing |
| Housing color | Component, material, reference system/code and physical reference | Appearance against the agreed reference under recorded conditions |
| Surface finish | Texture and gloss/matte reference; agreed inspection method | Finish and visible appearance against the approved criteria |
| Marking durability | Relevant use or cleaning exposure and agreed test method, if required | Documented result within the agreed scope |
| Kontrolliert | Approved icons, wording and configuration | Labels correspond to actual controls and functions |
| Box and instructions | Artwork revision, model, accessory list and language version | The actual pack matches the supplied lamp and kit |
| Approval record | Sample ID, revision, reviewer, date and unresolved items | Clear approval scope; exceptions recorded before release |
5.1Example: turn a short request into a reviewable requirement
The following is an illustrative purchasing example, not a Seminglight customer case. A request such as “white lamp, our logo on the front, retail box” leaves the model, affected parts, front-facing direction and box version unresolved. It also gives the reviewer no basis for deciding whether a sample is acceptable.
A clearer brief would identify the selected model and configuration; list the housing parts to recolor; attach the authorized logo revision and placement drawing; identify the physical color and finish references; and name the packaging artwork and language version. It would then ask the supplier to confirm feasible processes, open questions and the sample approval route. Dimensions and acceptance limits should be completed by the buyer and supplier for that project, rather than copied from an unrelated example.
6. Approve the sample with a record that can be reused
A message saying “looks good” is difficult to use for later inspection. A more useful approval identifies exactly what was accepted.
- Review the artwork proof. Confirm files, dimensions and layout before physical sampling. Artwork approval covers the proof, not the finished surface.
- Identify the physical sample. Record the model, configuration, sample ID and associated artwork revisions.
- Inspect against the checklist. Log findings with photos and measurements where appropriate. List open items separately.
- Record the decision. State approved, revise and resubmit, or approved only for named items. Identify the reviewer and date.
- Retain the reference. Agree how the buyer and supplier will retain equivalent approval references and use them for subsequent checks.
If artwork, material, finish, marking method or kit contents change later, identify which approvals need to be repeated. Keep the previous revision in the record, clearly marked as superseded, so it is not accidentally reused.
6.1What to do when the approval sample needs revision
Describe each finding against one requirement. “Logo is wrong” is less useful than “the sample uses artwork revision A, while the approved proof identifies revision B.” For a placement issue, name the reference point and record the observed measurement. For a finish concern, identify the reference sample and viewing conditions used for the comparison. Add photos as supporting records, while keeping the physical reference where appearance is the deciding factor.
Separate an unmet agreed requirement from a new preference. The first needs a correction discussion; the second changes the brief and may require a revised quotation or sample plan. Request a written response for each open item: proposed action, responsible reviewer, affected files and whether another physical sample is needed. Do not close the approval record until the decision and any exceptions are clear to both parties.
7. Choose the lamp platform before finalizing the branding
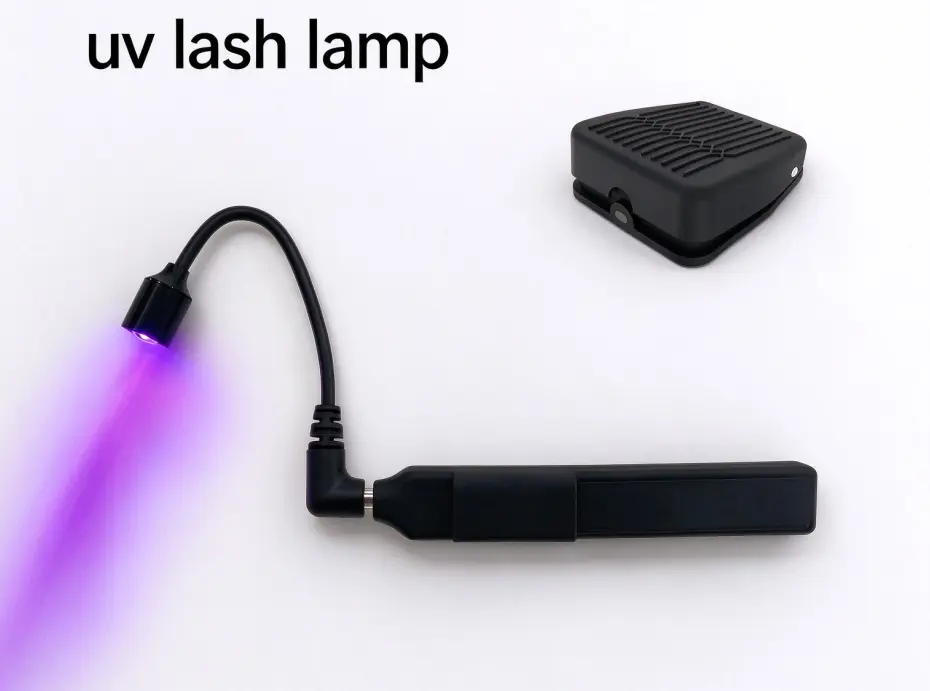
Start with the product that fits the task, then confirm its branding scope. Seminglight’s Ringleuchten, Halbmondleuchten und Studio-Panel-Leuchten provide product groups to explore for a project discussion.
For each candidate, identify the parts you want to brand and ask which materials, marking areas and finish options can be evaluated. Availability depends on the selected model and proposed change; a category page does not establish that all options apply to every product.
Use the Seminglight OEM/ODM project process to discuss feasibility and sample confirmation. Keep the agreed branding specification alongside the selected product configuration.
8. Control repeat orders and compare branding quotations
For a repeat order, reference the previously approved configuration and artwork revisions explicitly. Ask the supplier to confirm whether the proposed material, surface process, marking method and supplied kit remain aligned with the approval record. If something has changed, identify the affected appearance requirements and agree what needs rechecking before treating the old sample as the reference for the new order.
Keep a short revision log with the change, reason, approver and effective order or batch reference. If the brand refreshes its logo, identify what happens to older packaging or components before accepting a mixed-version shipment. The aim is to make the authorized version visible to purchasing, design and inspection reviewers, instead of relying on a previous email being remembered.
8.1Compare the same scope before comparing prices
Ask each quotation to distinguish the selected base product from the requested branding work. Confirm whether artwork preparation, marking setup, color or finish sampling, physical sample preparation, packaging artwork work and any development items are included or separately charged. Request project-specific quantities, costs and timing; do not assume a published general offer applies to a different configuration.
If the quotations differ, first compare the deliverables and approval assumptions. One may cover a product logo only, while another includes an assembled appearance sample and printed packaging proof. Neither should be treated as equivalent until those differences are reconciled. Record what the next payment or order approval would cover before moving from concept review to sampling or production.
8.2A copy-ready outline for your supplier brief
- Product: selected model, configuration and intended application.
- Branding scope: components to change, components to retain and optional requests.
- Logo: authorized artwork revision, placement drawing, proposed method and open questions.
- Appearance: component materials, color references, surface finish references and review conditions.
- Printed materials: packaging, instructions, languages and matching revision list.
- Approval: requested sample type, checks to complete, decision maker and reference retention.
- Commercial review: expected quantity, target market, required date and items needing a supplier quotation.
- Changes: how revisions will be identified and which changes require renewed approval.
Use “to be confirmed” for unresolved items. This is more useful than leaving a blank that could be interpreted as permission to choose any option. Ask the supplier to return the brief with feasibility comments before requesting a final approval sample.
9.Frequently asked questions
9.1Can I begin with only a logo file?
Yes, for an initial discussion. To prepare an approval sample, also identify the lamp model, logo size and placement, proposed method, and relevant color or finish references. Ask the supplier to confirm the production file format.
9.2Does a Pantone code guarantee the same appearance on every part?
Do not use the code as a universal appearance guarantee. Identify the reference system, material and finish, then approve appropriate physical references under agreed viewing conditions.
9.3Does sample approval cover the entire order specification?
Only treat it as approval of the items explicitly recorded. Keep visual branding approval distinct from functional testing, packaging performance and applicable documentation review.
9.4What should I send for a branding feasibility review?
Send the proposed lamp model, intended application, authorized logo artwork, reference colors, desired finish, packaging and language requirements, expected quantity and target market. Separate essential requests from optional ones.
9.5Prepare a branding brief for your next lamp project
Before asking for a final quotation, put your model choice, artwork revisions, placement drawing and appearance references in one brief. Mark any questions that still need sample confirmation.
Ready to discuss your requirements? Submit that brief through the OEM/ODM inquiry page and ask Seminglight to confirm the feasible scope, quotation assumptions and sample approval steps for your selected configuration.
Jim Jiang

Gründer von Seming, leitender Produktdesigner mit 20 Jahren Erfahrung. Spezialisiert auf Anpassung, Innovation und Beleuchtungslösungen für Fotografie, Beauty-Beleuchtung und Beauty-Tools und mehr.