









1. You Already Know How to Lash. UV Changes the Rules.
If you have been lashing for years, you have developed instincts that feel automatic. The way glue behaves in different humidity is second nature. A bond that is set—you can feel it. And working with a drying time measured in fractions of a second has become routine.
UV lashing removes many of those variables—but it introduces new ones.
The adhesive stays liquid until you press the pedal. That means you have unlimited time to position each extension. It also means the responsibility for curing shifts from the environment to you. If you forget to activate the lamp, the bond never sets.
The lamp itself becomes a variable. Its wavelength, its irradiance, its beam angle—all of these affect whether the adhesive cures properly. Get the alignment wrong, and the bond fails days later.
This guide covers what experienced lash artists need to learn before their first UV client. It assumes you already know how to isolate, how to place extensions, and how to handle tweezers. What it adds is the UV-specific knowledge that keeps your retention consistent.
If you are sourcing a UV lamp for your salon, see our UV lash light collection for professional-grade options.

2. The Science You Need to Understand
You do not need a chemistry degree. But you do need to understand the basic mechanism of UV curing—because that understanding drives every technique decision you will make.
2.1 Photoinitiators and Wavelength
UV adhesive contains photoinitiators—molecules that remain dormant until they absorb light at a specific wavelength. The wavelength range for most professional UV lash adhesives is 365nm or 395–405nm .
If the lamp’s wavelength does not match the adhesive‘s photoinitiator absorption peak, curing will be incomplete. The surface may harden, but the core stays liquid. This is called a “shell cure,” and it is one of the most common causes of early fallouts.
What this means for your training: You must know the wavelength your adhesive requires, and you must verify that your lamp emits at that wavelength. They are not interchangeable.
2.2 Irradiance and Working Distance
Irradiance is the power of UV light reaching the adhesive at the working distance. It is measured in milliwatts per square centimeter (mW/cm²).
The number on the spec sheet is usually measured at 1 cm. But you never work at 1 cm. You work at 2–5 cm from the lash line. A lamp rated at 5,000 mW/cm² at 1 cm may deliver only 500 mW/cm² at 4 cm—a 10x drop .
What this means for your training: You need to know your lamp’s irradiance at your actual working distance. If it is below 50 mW/cm², the lamp may not cure reliably. If it is 50–200 mW/cm², you are in the professional range.
2.3 The Role of the Driver
The LED driver determines whether the lamp outputs steady UV or flickers. Low-frequency PWM (pulse-width modulation) flicker means the UV is actually off for part of each cycle. Your adhesive gets intermittent exposure, not continuous cure.
What this means for your training: If your lamp flickers, your curing will be inconsistent—even if everything else is correct. You can test this by pointing your phone camera at the lamp in video mode. If you see moving bands, the lamp has visible flicker.
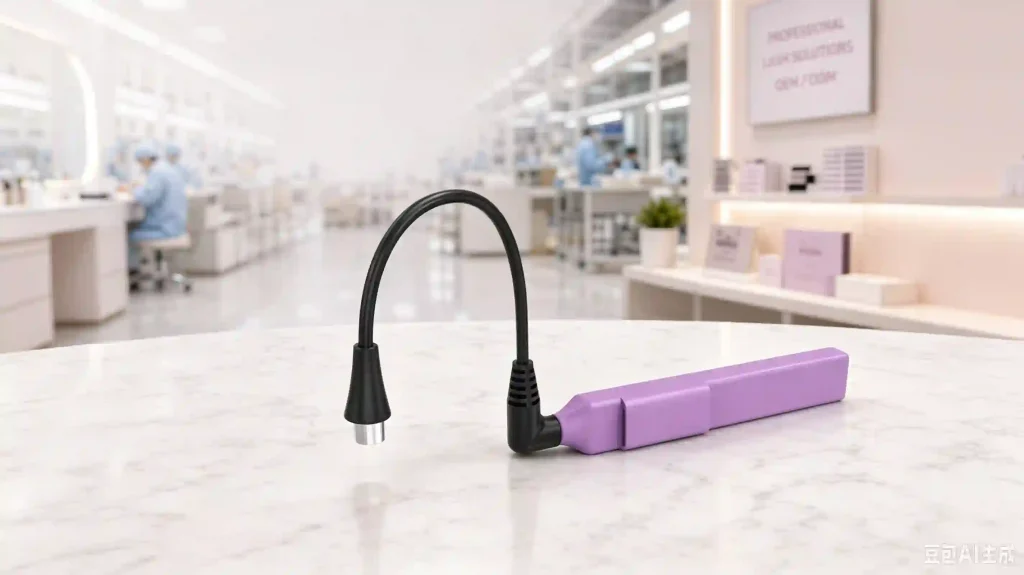
3. Lamp Setup and Alignment
Proper lamp alignment is the single most important skill in UV lashing. If the beam does not reach the bond point, nothing else matters.
3.1 Positioning the Lamp
The lamp should be positioned so the UV beam targets the lash base directly. For most systems, the lamp head sits above the client‘s forehead, angled down toward the lash line.
The distance from the lamp to the lash line is typically 2–5 cm. Too close, and the beam covers too small an area. Too far, and the irradiance drops below effective levels.
3.2 The Alignment Drill
Before working on a client, practice this drill on a mannequin:
Place the lamp in its working position
Activate the beam
Observe the light pattern on the lash line
Adjust the angle until the beam centers on the lash base—not the eyelid, not the tips
Repeat this drill until you can position the lamp correctly without thinking. This is the foundation of consistent curing.
3.3 Shadow Awareness
Your hands and tweezers can block the UV beam. When you place an extension and activate the lamp, check that no part of your hand or tool is between the lamp and the bond point.
Training drill: Work on a mannequin with a UV test card placed at the lash line. Position your hand as you would during application. Activate the lamp. If the card does not change color, your hand is blocking the beam.
Our UV lash lights feature focused beam optics for precise curing.
4. The UV Application Cadence
The application workflow for UV lashing is similar to traditional lashing—but with one critical difference: the cure step is controlled by you, not the environment.
4.1 The Five-Step Cadence
Isolate the natural lash
Dip the extension into the adhesive (micro-bead, 1–2 mm)
Place the extension on the natural lash
Cure with the UV lamp for 1–2 seconds
Verify the bond with a gentle probe, then move to the next lash
The cadence is simple. The challenge is consistency. In traditional lashing, you develop a rhythm based on the glue’s drying time. In UV lashing, you set the rhythm yourself.
4.2 Common Cadence Mistakes
| Mistake | Why It Hurts |
|---|---|
| Delaying between placement and cure | The adhesive may skin over, creating a shell cure |
| Not curing long enough | The bond may appear set but fail under stress |
| Curing too long | Unnecessary heat buildup; no benefit to retention |
| Moving the extension during cure | Misalignment weakens the bond |
Training drill: Practice the cadence on a mannequin for 30 minutes. Count the seconds between placement and cure. Aim for less than 1 second of delay. The goal is to make the cadence automatic.
4.3 Fan Placement
For volume and mega-volume artists, UV adhesive is especially forgiving because it does not dry while you position the fan. You can take your time to ensure the fan sits correctly before curing.
However, this also means you must develop the discipline to cure immediately after placement. The adhesive will not cure on its own—if you forget the pedal, the bond remains liquid.
5. Safety Protocols
UV lashing introduces a new safety consideration: UV exposure. The good news is that professional UV lamps are designed to minimize risk. The bad news is that you still need to follow protocols.
5.1 Eye Protection
Both client and artist must wear UV-blocking glasses throughout the entire application. The client‘s eyes are closed, but the glasses add an additional layer of protection. The artist’s eyes are open—they need protection from scatter UV.
Silicone protective pads should also be placed on the client‘s upper eyelid to shield the skin from stray UV.
5.2 Exposure Time
The total UV exposure for a full set is approximately 3 minutes per eye. This is far below the threshold for photobiological risk when proper protection is used. The eyelid itself blocks at least 95% of UV radiation from reaching the eye.
5.3 Lamp Safety Features
Before using any UV lamp, verify that it carries IEC 62471 photobiological safety certification. This is the international standard that measures UV, blue light, and IR against safe exposure limits.
Training checklist:
Confirm IEC 62471 certification
Verify the lamp has a stable driver (no flicker)
Check that the beam is focused, not diffuse
Ensure both client and artist have UV-blocking glasses
Position protective eye pads correctly
UV lash lights with IEC 62471 safety certification meet the highest safety standards.
6. Troubleshooting During Training
When you first start UV lashing, you will encounter issues. Here is how to diagnose them.
| Issue | Likely Cause | Fix |
|---|---|---|
| Adhesive not curing | Lamp not activated, wrong wavelength, insufficient irradiance | Check pedal, verify wavelength match, test irradiance |
| Curing too slow | Irradiance too low, lamp too far away | Move lamp closer, increase cure time |
| Adhesive thickening on tray | Reflected UV light | Move glue drop away from lamp beam, use matte palette |
| Bonds failing early | Shell cure, shadow blocking, insufficient cure | Check alignment, increase cure time, verify no shadow |
| Inconsistent retention | Driver flicker, wavelength drift | Test with phone camera, check lamp age |
6.1 The First Client
For your first UV client, choose someone with a straightforward set and no known sensitivities. Do a patch test if the adhesive is new to them. Work slowly and verify each step. The goal is not speed—it is consistency.
7. Final Verdict
| Key Skill | What to Master |
|---|---|
| Wavelength matching | Know your adhesive‘s wavelength and verify your lamp matches |
| Lamp alignment | Position the beam to target the lash base, not the eyelid or tips |
| Shadow awareness | Ensure your hands and tools don’t block the UV beam |
| Cadence | Place → cure immediately. No delays |
| Safety | UV-blocking glasses for both, IEC 62471 certification |
| Troubleshooting | Diagnose curing issues using the problem-cause-fix framework |

UV lashing is not harder than traditional lashing. It is different. The skills you have developed—isolation, placement, hand positioning—still apply. What changes is the curing mechanism and the variables you control.
Take the time to learn the science, practice the alignment, and build the cadence. Your first UV client will be smoother than you expect. By your tenth, you will wonder why you waited so long to learn.
Related UV Lash Reading
A note from Seminglight – We manufacture professional UV lash lights with 395nm wavelength precision, focused beam optics, and IEC 62471 safety certification. Explore our UV lash collection or contact us for wholesale pricing and training support.
Jim Jiang

Founder of Seming, Chief Product Designer with 20 years of experience. Specializing in customization, innovation and lighting solutions for photography lighting, beauty lighting and beauty tools, and more.