






Informazioni sull'autore: Jim Jiang
Fondatore di Seming, Chief Product Designer con 20 anni di esperienza.
Specializzata nella personalizzazione, nell'innovazione e nelle soluzioni di illuminazione per la fotografia, l'illuminazione di bellezza, gli strumenti di bellezza e altro ancora.
1. When the System Doesn‘t Work the Way It Should
You‘ve invested in UV lash technology. Your clients love the instant cure and the immediate return to their routines. But something isn‘t right.
The lashes are falling off faster than they should. The bonds feel brittle. The adhesive is thickening on the tray before you even finish a set.
UV lash adhesive troubleshooting starts with one principle: the adhesive itself is rarely the problem. In most cases, the issue traces back to the lamp, the technique, or the environment.
This guide covers the four most common UV lash adhesive issues, using a problem → cause → fix format. Keep it at your station. Print it for your team.

2. Issue A: Early Fallouts (1–3 Days)
The symptom: Extensions fall off within 1–3 days of application. The bond looked secure when the client left, but it fails almost immediately.
Likely Causes
Insufficient UV exposure: The cure time was too short, the lamp was too far away, or the angle was wrong. The adhesive wasn‘t fully polymerized .
Shadows blocking the beam: Hands, tweezers, or other tools blocked the UV light from reaching the bond area .
Adhesive “skinned over” before curing: A delay between placement and curing caused the surface to harden while the core stayed liquid .
Oversized fans: The natural lash was overloaded, making the bond mechanically unstable regardless of adhesive quality .
Come risolvere il problema
Increase exposure time and/or intensity. Realign the lamp so the beam targets the lash base directly .
Train hand-lamp coordination. Confirm that no tools or fingers block the UV beam during curing .
Stringere la cadenza: Place → cure immediately. Do not delay between positioning the extension and activating the lamp .
Reduce fan weight. Use a lash load chart to match fiber count to the client‘s natural lash strength .
3. Issue B: Ends Lift; Bond Feels “Crunchy” or “Brittle”
The symptom: The extensions lift at the ends. When you touch the bond, it feels hard and brittle rather than strong and slightly flexible.
Likely Causes
Excess adhesive: Too much glue creates a thick, brittle shell that cracks under stress .
Cure applied while misaligned: The extension was cured in the wrong position, creating stress at the bond point .
Adhesive partially cured on the tray: Ambient UV light (from windows, reflections, or the lamp itself) cured the glue drop before use .
Come risolvere il problema
Reduce glue volume. Use a true micro-bead (1–2 mm). Sweep lightly before curing to ensure even distribution .
Hold the extension firmly during cure. Ensure the correct angle and placement before activating the lamp .
Protect the glue drop from stray UV. Keep the adhesive away from the lamp beam, direct sunlight, and reflective surfaces. Replace drops frequently .
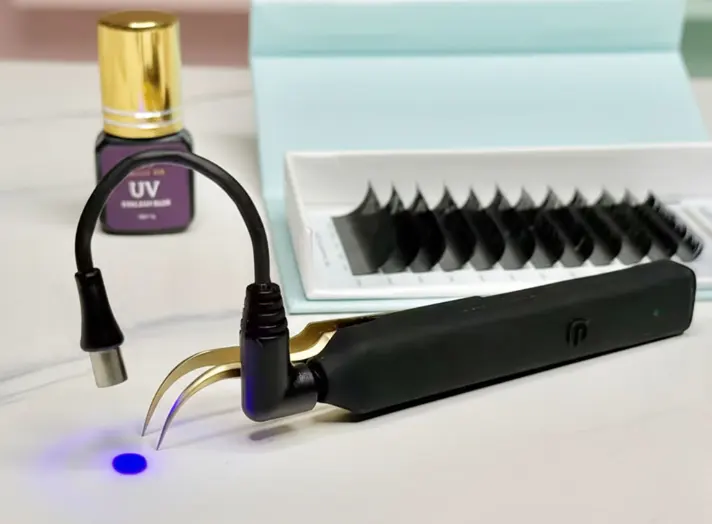
Our UV lash lights feature focused beam optics to minimize stray UV exposure.
4. Issue C: Great First Week, Then Retention Drops
The symptom: The first week is perfect. Then, between day 7 and day 14, the lashes start shedding faster than expected.
Likely Causes
Client aftercare issues: Oil-based skincare, steam, or rubbing weakens the bond over time .
Adhesive not fully polymerized internally: The cure time was too short, leaving the core under-cured. The surface hardened, but the internal bond lacked strength .
Inconsistent lash line cleanliness at fills: If the lash line wasn‘t properly cleansed at the last appointment, residual oils compromised the new bonds .
Come risolvere il problema
Reinforce aftercare instructions verbally and with a printed card. Recommend an appropriate lash cleanser .
Add 0.5–1 second to the curing time. Verify the bond with a gentle tug test before proceeding .
Institute a fill-time cleaning SOP. Cleanse the lash line thoroughly at the start of every fill appointment .
5. Issue D: Adhesive Appears Set but Pops Under Probe
The symptom: The adhesive looks cured. It feels solid. But when you gently probe it, the bond pops off.
Likely Causes
UV intensity too low at working distance: The lamp is delivering insufficient power at 2–5 cm from the lash line .
Wavelength mismatch between lamp and adhesive: The lamp‘s peak wavelength doesn‘t match the adhesive‘s photoinitiator absorption peak .
Driver/power instability: The lamp‘s driver causes flicker during activation, delivering intermittent UV exposure instead of continuous cure .
Come risolvere il problema
Measure and confirm irradiance at the working distance. Professional lamps should deliver 50–200 mW/cm² at 2–5 cm. Increase intensity or reposition the lamp if needed .
Confirm wavelength specs. The lamp and adhesive must match. Most professional UV adhesives are formulated for 365 nm or 405 nm .
Use a lamp with a stable driver. Avoid products with false power labeling or unstable output. A lamp with a stable driver ensures consistent UV delivery .
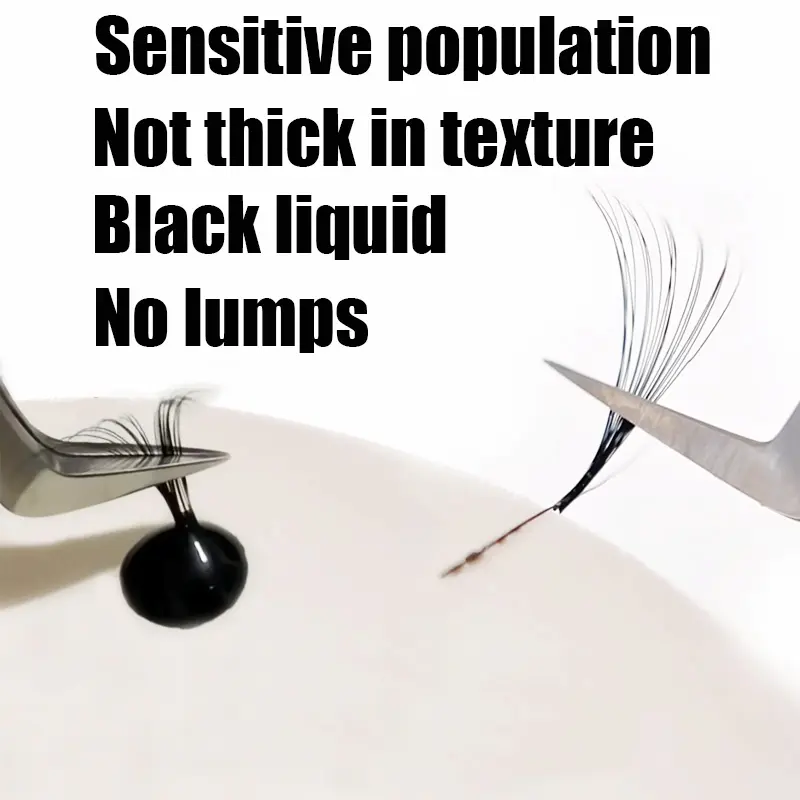
6. Issue E: Adhesive Curing on the Tray or Thickening Too Quickly
The symptom: The adhesive drop thickens, skins over, or becomes difficult to work with before you finish a set.
Likely Causes
Reflected UV light: Glossy surfaces, mirrors, shiny lash tiles, or reflective palettes bounce UV light onto the glue drop .
Lamp beam edge exposure: The glue drop sits at the edge of the lamp‘s beam, receiving unintended UV exposure .
Temperature: Warm conditions make the adhesive more fluid, but they don‘t cause curing. The issue is light exposure, not heat .
Come risolvere il problema
Move the glue drop away from the lamp beam. Your lash bond needs the curing light. Your glue drop does not .
Use a matte palette. Avoid shiny, reflective surfaces. Matte or dark palettes reduce stray UV reflection .
Protect the adhesive from ambient light. Keep the bottle closed between uses. Store in the supplied pouch .
Replace drops frequently. A fresh drop every 15–20 minutes keeps the adhesive at optimal viscosity .
Browse UV lash curing lamps with focused beam optics.
7. Quick Reference: Problem → Cause → Fix
| Problema | Probabile causa | Correzione |
|---|---|---|
| Early fallouts (1–3 days) | Insufficient UV exposure, shadows, skin-over, oversized fans | Increase time, realign lamp, tighten cadence, reduce fan weight |
| Brittle/crunchy bonds | Excess adhesive, misaligned cure, premature tray curing | Reduce glue volume, hold firm during cure, protect glue drop |
| Week 1 good, then drops | Aftercare issues, under-cured core, inconsistent cleaning | Reinforce aftercare, add cure time, clean at fills |
| Pops under probe | Low irradiance, wavelength mismatch, driver flicker | Measure irradiance, confirm wavelength, use stable driver |
| Tray curing/thickening | Reflected UV, beam edge exposure | Move glue drop, use matte palette, replace drops |
8. Verdetto finale
| Punto chiave | Azione |
|---|---|
| The adhesive is rarely the problem | Check lamp, technique, and environment first |
| Irradiance matters | Confirm 50–200 mW/cm² at 2–5 cm working distance |
| Wavelength must match | Confirm lamp and adhesive specs align |
| Protect the glue drop | Keep it away from direct and reflected UV |
| Tighten the cadence | Place → cure immediately. No delays |
| Clean the lash line | Oil contamination breaks even the best bond |

UV lash adhesive troubleshooting is not about finding a better adhesive. It‘s about eliminating the variables that compromise even the best adhesive.
The lamp, the technique, and the environment—these three factors determine whether your UV system delivers the retention it promises. When something goes wrong, work through the problem-cause-fix framework in this guide. The answer is almost always in the setup, not the bottle.
Related UV Lash Reading
Una nota da Seminglight – Produciamo prodotti professionali Luci UV per ciglia with 395nm wavelength precision, focused beam optics, and stable constant-current drivers. Scopri la nostra collezione di ciglia UV o contattateci for wholesale pricing and technical support
Jim Jiang

Fondatore di Seming, Chief Product Designer con 20 anni di esperienza. Specializzato nella personalizzazione, nell'innovazione e nelle soluzioni di illuminazione per la fotografia, l'illuminazione di bellezza, gli strumenti di bellezza e altro ancora.