









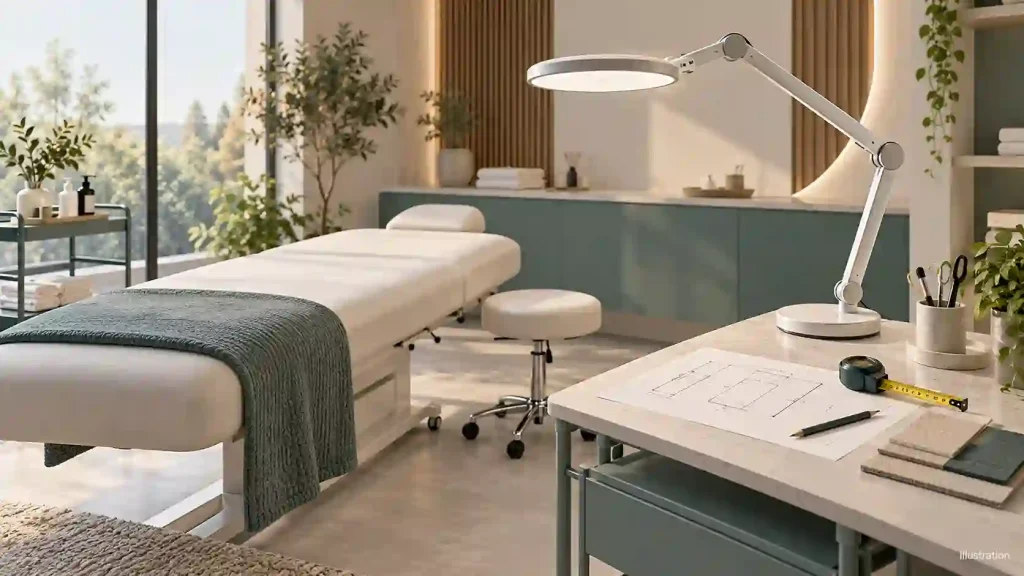
A salon lamp can look right in a product photo and still be wrong for the workstation. The clamp may not sit against the desk edge. The light head may stop short of the treatment area. Or the stand may occupy the space needed for a stool or trolley.
Good salon light mounting starts with the workstation, not just the lamp. Before choosing a half moon lamp, single-arm light or double-arm light, record where it will attach, where the light needs to reach and what must move around it. This guide helps salon equipment buyers, distributors and brands turn those observations into a useful customization brief.
1. Separate three problems: attachment, reach and stability
“It does not fit” is not a precise specification. Identify which part of the installation is failing before asking for a different model.
- Attachment: Can the supplied mount engage the intended surface in the way its instructions require?
- Reach: Can the light head cover the working area without moving the furniture or obstructing the operator?
- Stability: Does the complete assembly remain properly supported in the approved operating positions?
These are related but different questions. A larger clamp opening does not establish that a hollow desktop can carry the assembly. A longer arm does not automatically solve movement or balance. Avoid specifying one dimension while leaving the rest of the installation undefined.
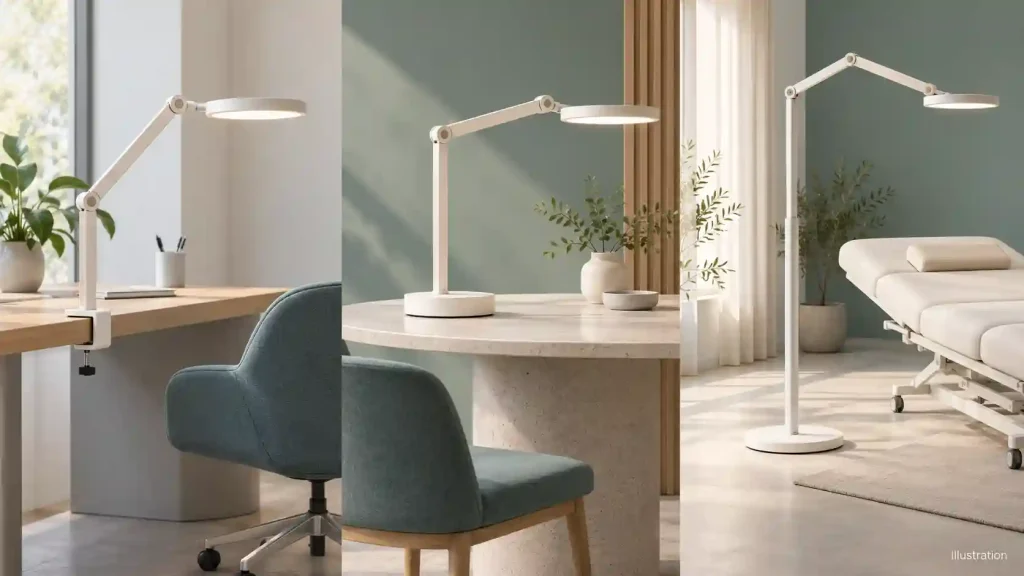
2. Clamp, desk base or floor stand: which fits the space?
Mounting approach | When to evaluate it | What to check before ordering | |
| Desk clamp | The workstation has a suitable accessible edge and limited spare surface area. | Surface construction, edge profile, upper and lower contact areas, opening range and clearance underneath. | |
Desk base | The desk has space for a base and the intended lamp configuration permits it. | Base footprint, work-surface support, usable desk area and allowed arm positions. | |
| Floor stand | Desk attachment is unsuitable or the lamp needs an independent position beside a bed. | Floor footprint, access routes, bed adjustment, cable path and the stand’s approved operating configuration. |
There is no universally better mount. Start with the actual task and layout. The Canadian Centre for Occupational Health and Safety’s lighting guidance explains why lighting selection needs to reflect the task and workstation. It does not establish the mounting limits of any specific Seminglight model; those require its own instructions and drawings.
3. Measure more than desktop thickness
A clamp specification is incomplete without the shape and construction of the edge. Photograph the proposed location from above, the side and underneath, with no customer or private information visible. Include a ruler where it helps show the scale.
| Record | Why the buyer needs it |
Surface thickness and material/construction | To compare the actual support surface with the mount’s permitted installation conditions. |
| Edge profile and accessible depth | A rounded lip, bevel or overhang may prevent the intended contact. |
Obstructions under the edge | Drawers, frames and cable trays can block the lower jaw or adjustment handle. |
| Mount-to-task horizontal distance | To define the required working reach rather than relying on overall arm length. |
Required light-head height and movement | To evaluate operation across different working positions. |
| Available desk or floor footprint | To identify conflicts with tools, stools, trolleys and walking routes. |
| Power connection and cable route | To assess movement without pulling, pinching or obstructing access. |
f a desktop is glass, thin, hollow, damaged or otherwise uncertain, do not assume that adding a pad makes it suitable. Ask the furniture supplier and lamp supplier to confirm the proposed installation. Do not improvise reinforcement or tighten a clamp beyond its instructions.
4. Check working reach, not just arm length
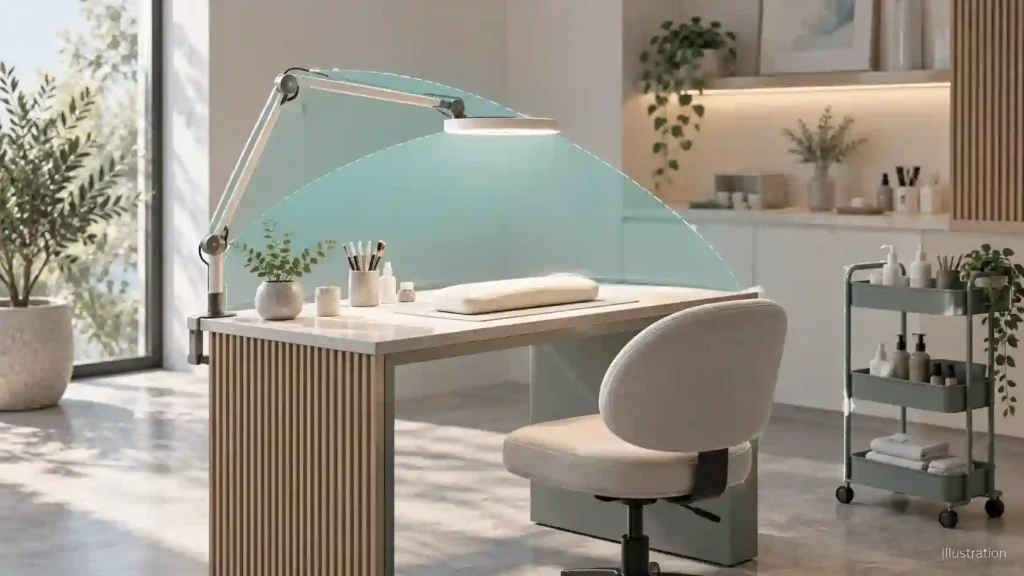
Overall arm length is not the same as useful reach. Joints, permitted angles, light-head size and the position of the mounting point all affect where the head can actually go. Ask for a drawing showing the usable positions of the exact assembly.
Mark the target area on a workstation sketch. For a bed, show both the normal position and any intended adjustment. For a nail desk, include the client’s hands, the technician’s working area and equipment already on the surface. Check that the head can be positioned without crossing the operator’s usual access path.
Extending a lamp farther from its support changes the load on that support. Do not assume the same stability at every extension, or add a phone holder and other accessories without approval. Confirm the complete configuration rather than treating the mount, arm and head as unrelated purchases.
5. Evaluate a sample in the intended workstation
Use an unoccupied workstation for the first installation review. Follow the supplied assembly and mounting instructions. If the mount slips, the surface deforms, the base lifts or the head drifts unexpectedly, stop and contact the supplier rather than conducting improvised load tests.
- Compare the delivered parts and mount with the approved drawing and accessory list.
- Check the specified attachment position and available clearance.
- Move the lamp only through its permitted adjustment range.
- Review the intended work positions, access to controls and cable movement.
- Record any obstruction, drift or interference with photos and the configuration used.
This is a practical fit review, not a substitute for the manufacturer’s structural testing or applicable product assessment. For a chain rollout, evaluate representative furniture types rather than assuming one successful installation covers every location.
6. Turn the problem into a customization request
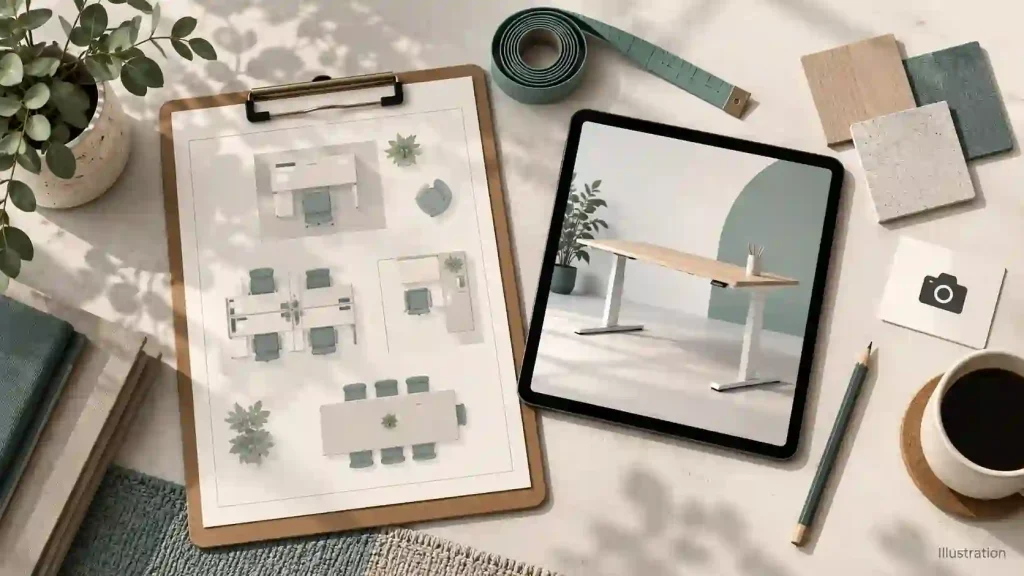
A request such as “make the arm longer” leaves important questions unanswered. A better brief explains the task, required head positions, support surface and space limits, then asks which changes are feasible.
- Mount: intended attachment surface, edge details and preferred mounting approach.
- Mouvement : required reach, head height, adjustment directions and storage position.
- Footprint: maximum usable area on the desk or floor, with surrounding equipment shown.
- Controls and cable: preferred operating location and available power route.
- Sample approval: furniture setup, inspection points and records needed before batch approval.
Separate an existing accessory option from a change requiring structural development. Arm geometry, clamp design or base changes may require further engineering review and verification. Availability, cost and delivery terms should be confirmed for the proposed configuration, not inferred from a different model.
7. Match a Seminglight product family to the brief
Once the installation conditions are clear, explore Seminglight half moon lighting for curved-head workstation layouts, or task lighting options when evaluating single-arm and double-arm arrangements. The SM231 single-arm and SM1885 double-arm lights are models to discuss when their form fits the task; confirm the current mounting options and drawings before selecting either.
These are starting points for evaluation, not a promise that every model fits every desk or bed. Review the OEM and ODM process if the standard configuration does not meet the documented requirements.
8.Frequently asked questions
8.1Can I attach a clamp lamp to a beauty bed frame?
Only if the lamp’s mounting instructions and the furniture supplier permit that exact installation. A frame is not automatically a suitable substitute for a desk edge.
8.2Will a heavier base solve wobbling?
Not necessarily. Mounting, joints, support surface and operating position need to be assessed together. Do not add an unapproved weight or replace structural parts yourself.
8.3What should I send before asking for a customized lamp?
Send a workstation sketch, measurements, clear installation photos, required head positions and the intended model or product family. This provides a more useful starting point than a product photo alone.
8.4Start with your workstation, then choose the light
Send Seminglight your workstation dimensions and mounting-location photos, together with the working positions you need to cover. We can discuss the proposed configuration and identify what needs confirmation before sample evaluation. The goal is a documented fit requirement—not simply another lamp with a different logo.
Jim Jiang

Fondateur de Seming, concepteur en chef de produits avec 20 ans d'expérience. Spécialisé dans la personnalisation, l'innovation et les solutions d'éclairage pour la photographie, l'éclairage de beauté et les outils de beauté, et plus encore.